افزودن انیمیشن سفارشی به تعامل
مرحله ۱: افزودن گزینه جدید با hook bricks/setup/control_options
مستندات hook: /developer/hooks/filters/filter-bricks-setup-control_options/
add_filter( 'bricks/setup/control_options', function( $options ) {
  // Add custom animation into animationTypes
  // Note that the key is very important, must be unique
  $options['animationTypes']['myAnim1'] = esc_html__( 'My animation 1', 'bricks' );

  return $options;
}, 10 );
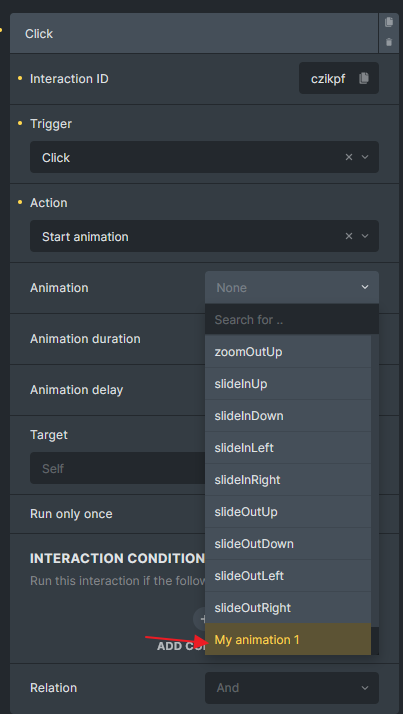
مرحله ۲: افزودن CSS انیمیشن
وقتی تعامل تنظیم شود، Bricks با کلید انیمیشن شما (مثلاً myAnim1) class به المان میدهد با پیشوند brx-animate-.
CSS class با animation-name و @keyframes متناظر بسازید. میتوانید در Bricks > Settings > Custom Code > Custom CSS قرار دهید.
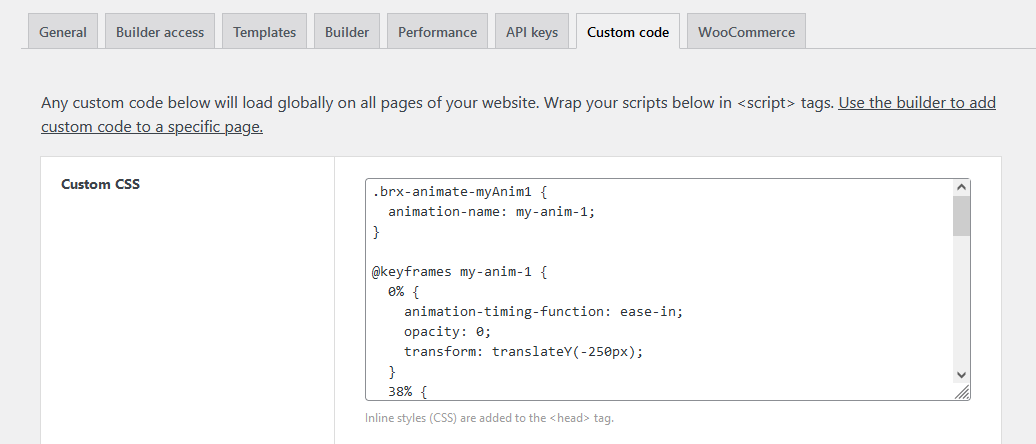
.brx-animate-myAnim1 {
  animation-name: my-anim-1;
}

@keyframes my-anim-1 {
  0% {
    animation-timing-function: ease-in;
    opacity: 0;
    transform: translateY(-250px);
  }
  38% {
    animation-timing-function: ease-out;
    opacity: 1;
    transform: translateY(0);
  }
  55% {
    animation-timing-function: ease-in;
    transform: translateY(-65px);
  }
  72% {
    animation-timing-function: ease-out;
    transform: translateY(0);
  }
  81% {
    animation-timing-function: ease-in;
    transform: translateY(-28px);
  }
  90% {
    animation-timing-function: ease-out;
    transform: translateY(0);
  }
  95% {
    animation-timing-function: ease-in;
    transform: translateY(-8px);
  }
  100% {
    animation-timing-function: ease-out;
    transform: translateY(0);
  }
}
اکنون این انیمیشن را از پنل Interactions روی هر المان استفاده کنید.